Upload an object detection dataset
Object detection datasets are non-tabular datasets whose labels are a folder of .tiff segmentation masks. After upload they train with Supervised (and LatentPPO) on Advanced Training.
Enterprise only
Non-tabular datasets require an Enterprise plan on the organization. See Tabular and non-tabular access.
Prerequisites
An Advanced Training project on an Enterprise organization.
A dataset directory on disk with a single image folder of samples plus a folder of
.tiffmasks. Each mask filename stem matches its image’s filename stem. The folder names are up to you — you’ll select which folder holds the targets in the modal. This tutorial usesimages/andtargets/as examples.
Expected layout
Object detection uses one image feature (the images/ folder, mapped to the model’s image modality) and a folder of mask targets:
Dataset Root/
  images/         # → "image" modality: sample_01.png, sample_02.png, …
  targets/        # .tiff masks: sample_01.tiff, sample_02.tiff, … (any folder name)
You select the mask folder on the Targets step, and preprocessing uses that selection — so the folder can have any name (targets/ here is just an example).
1. Open Datasets
Click Datasets in the sidebar, then New dataset.
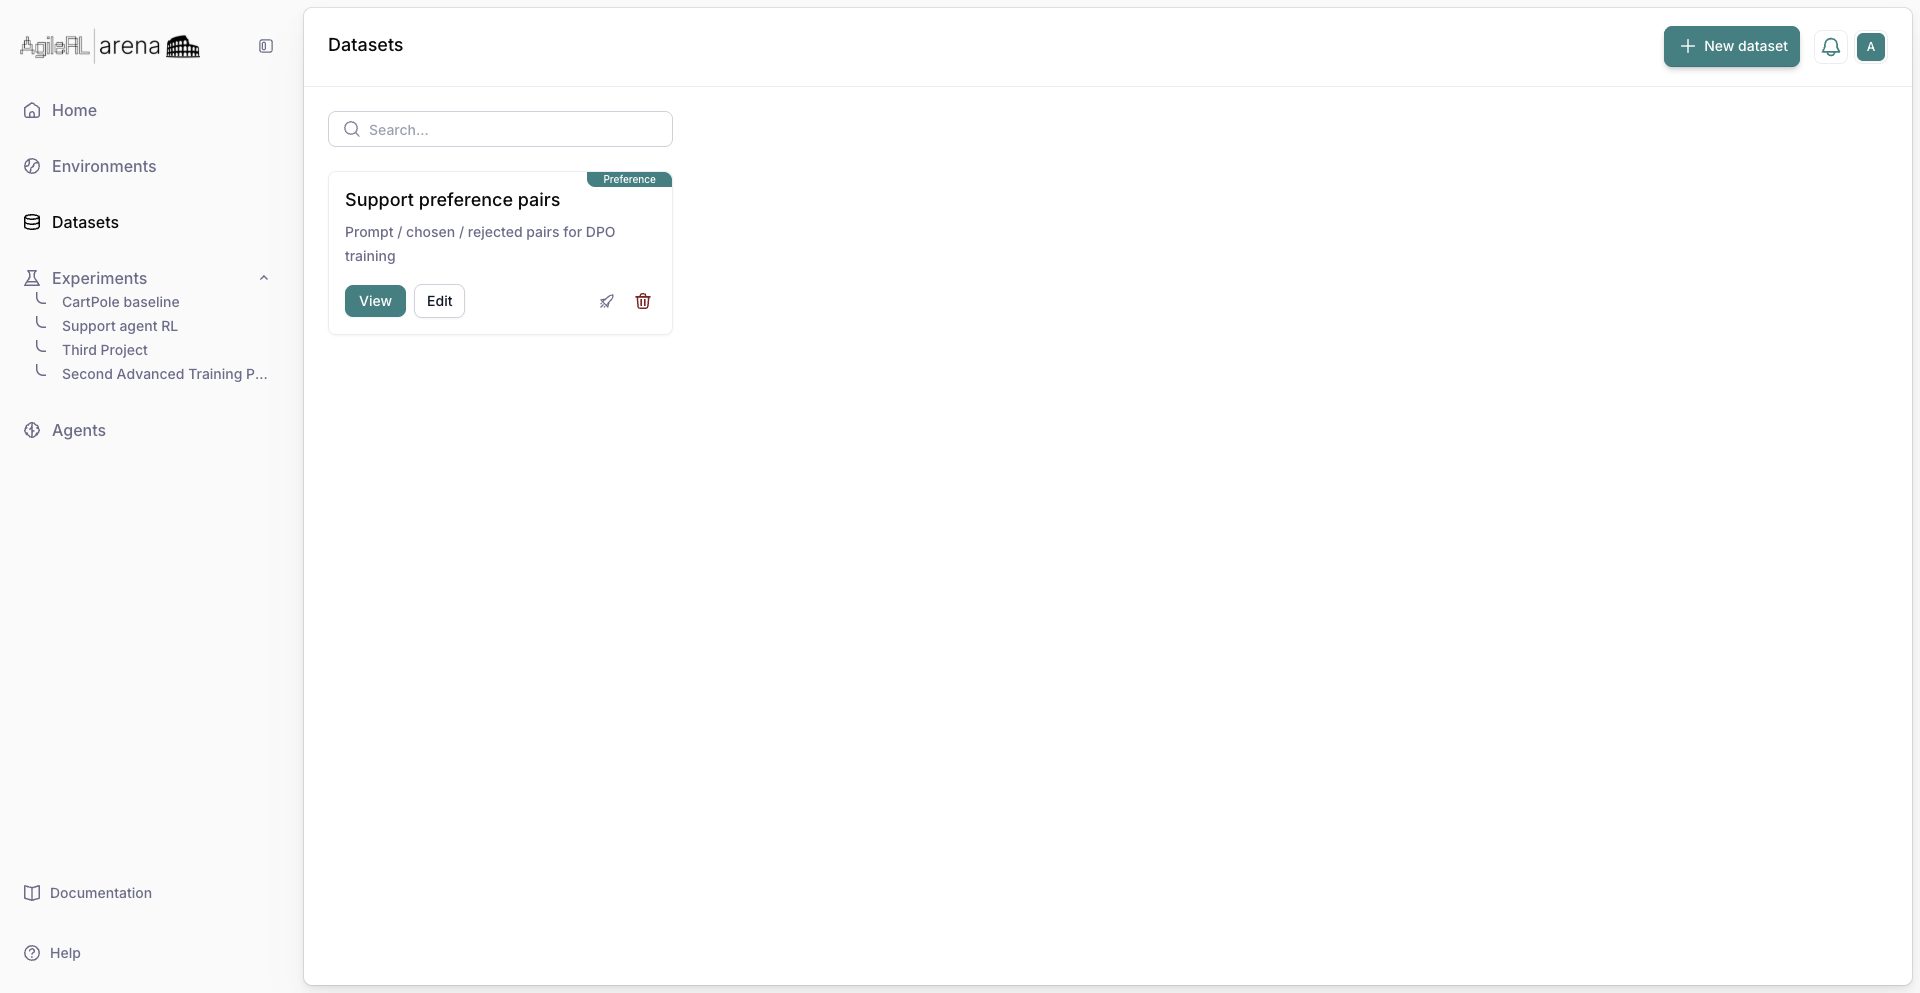
Datasets in the sidebar.
2. Choose the type
Pick category Other, then Non-tabular. Category Other is disabled unless the organization is on an Enterprise plan.
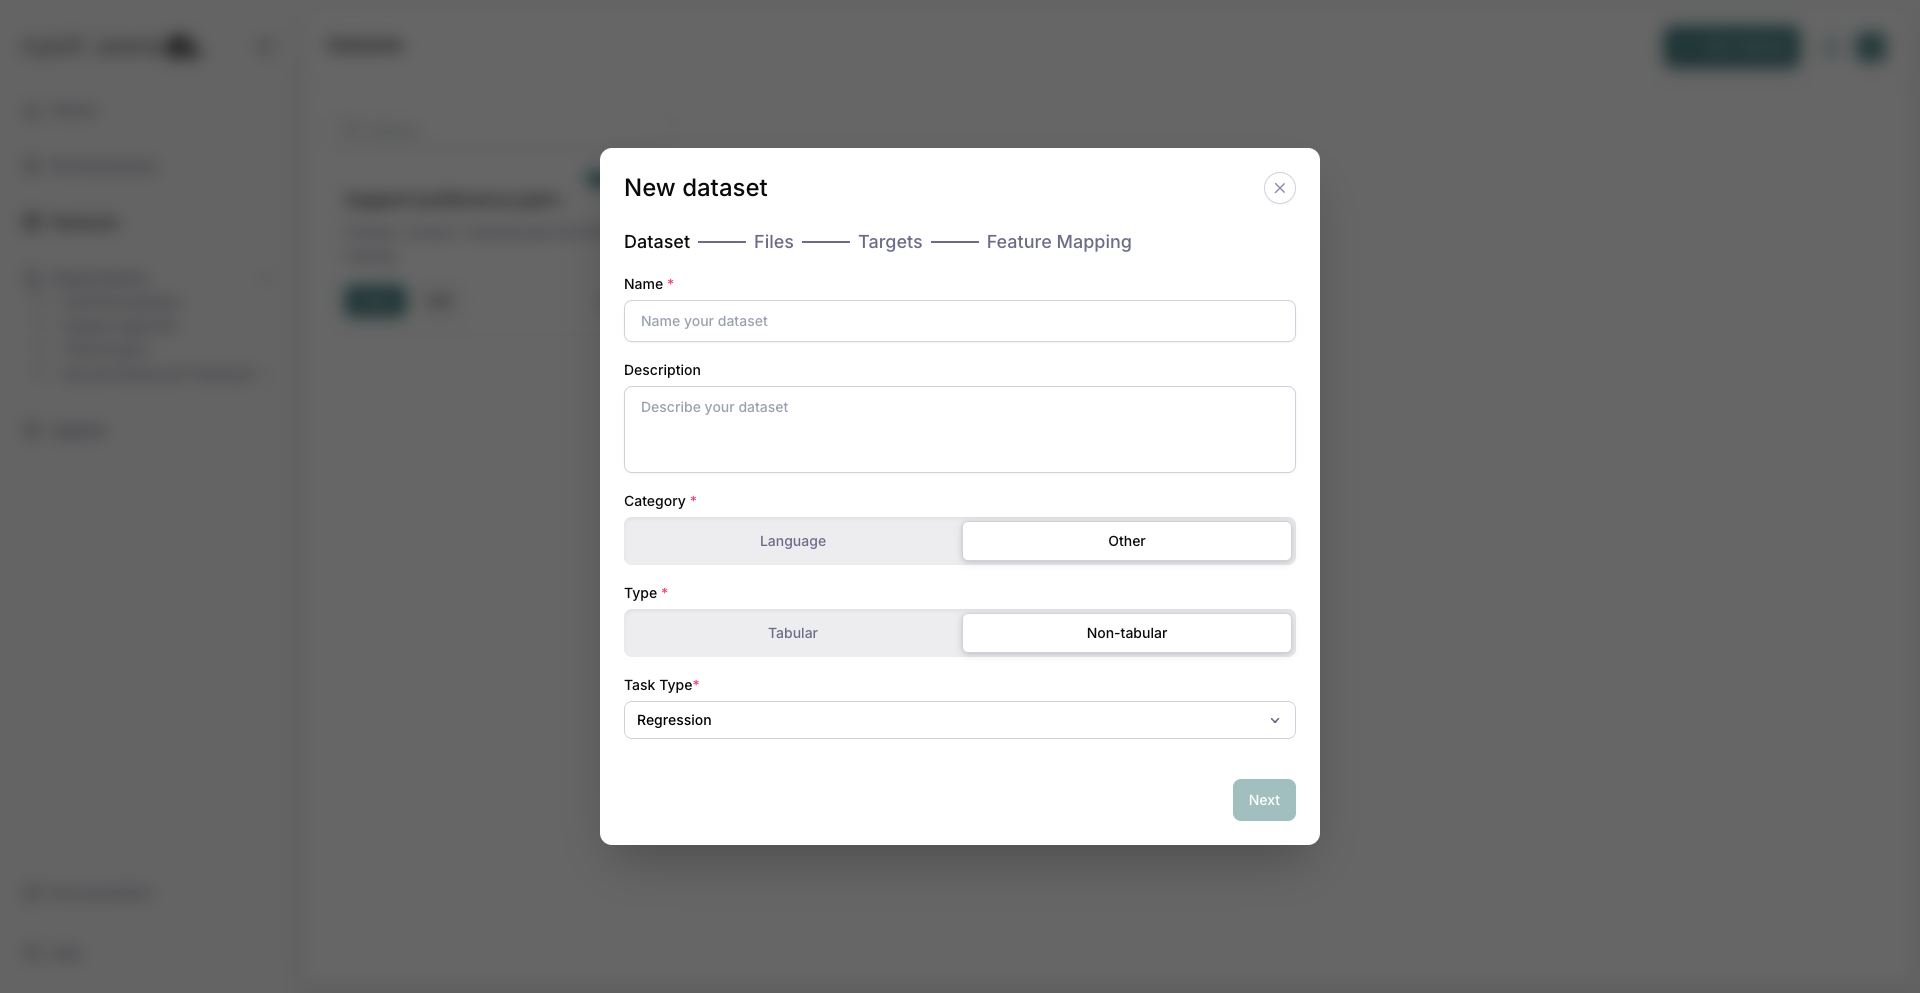
Other category and Non-tabular type with Task Type visible.
3. Set the task type
Set Task Type to Object detection. The modal switches to the mask-folder targets flow (a single .parquet targets file is not used for detection).
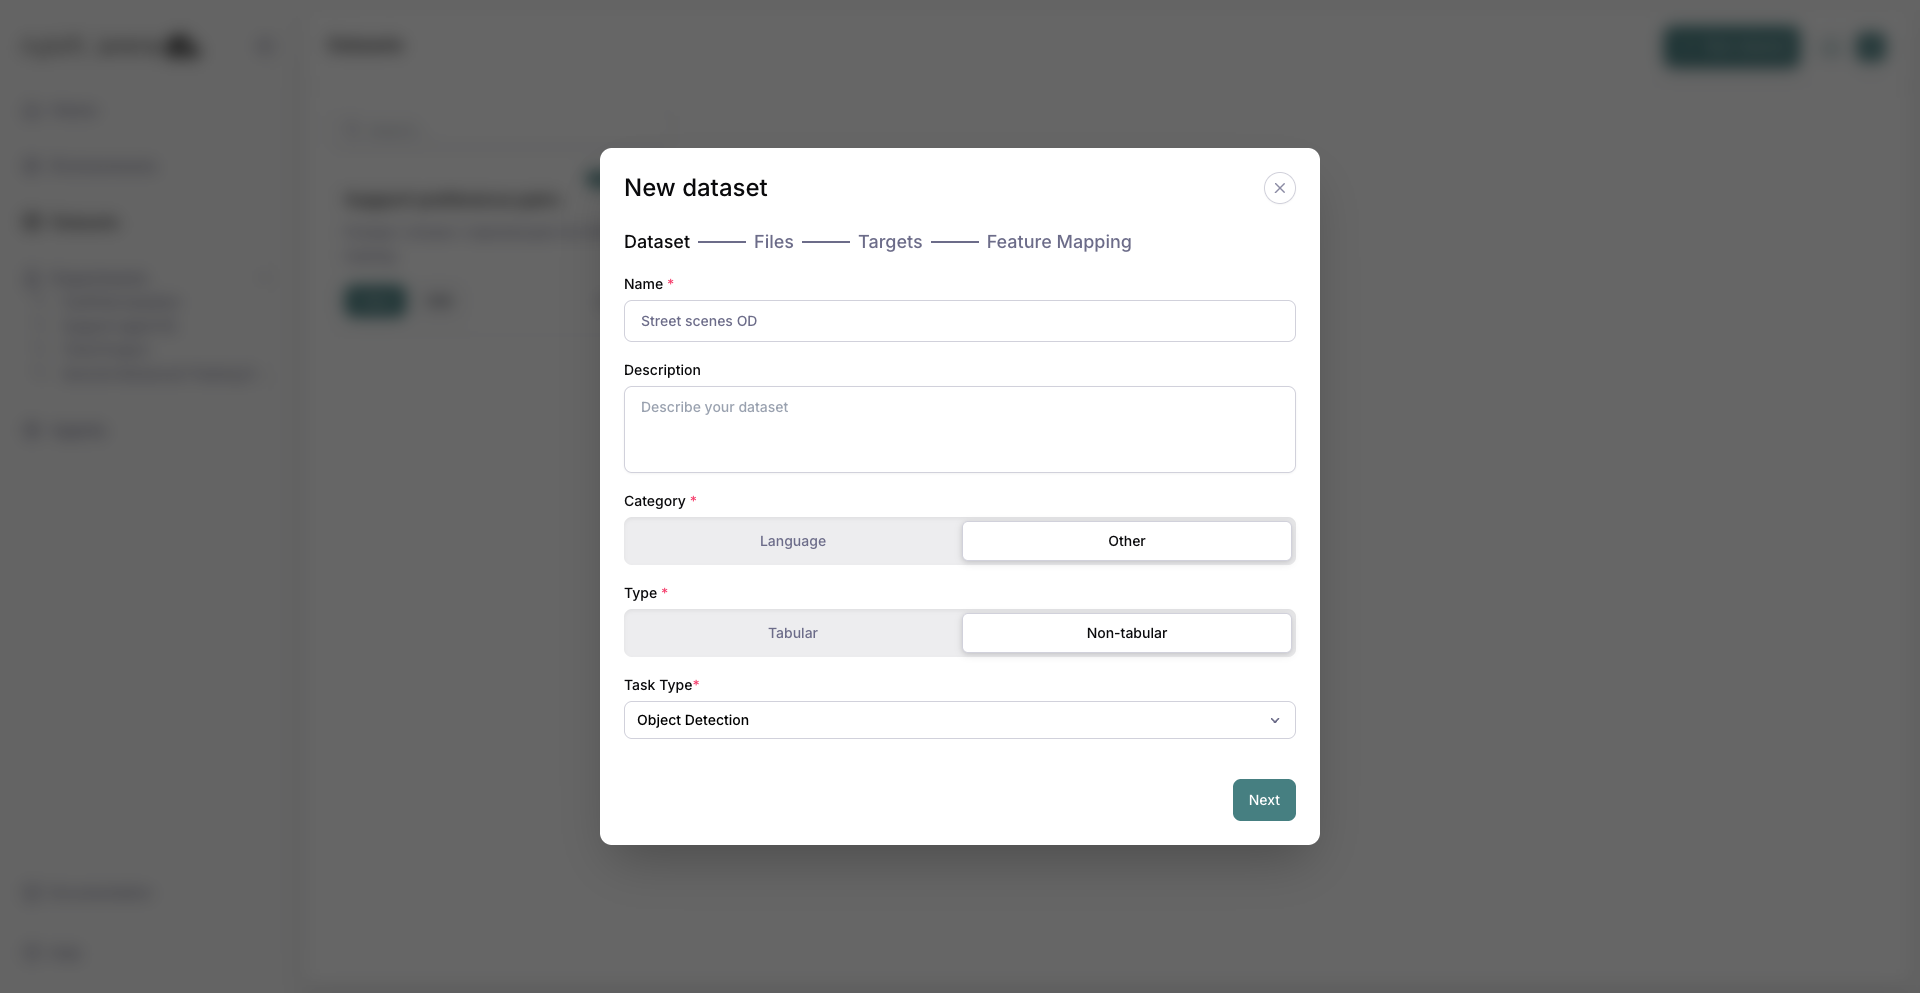
Object Detection selected as the task type.
4. Upload the whole directory
On Files, upload your dataset directory in one go — both the images/ feature folder and the targets/ folder of .tiff masks. The diagram shows the expected object-detection layout, and each subfolder is listed under Detected directories. Large uploads continue in the background while you keep working.
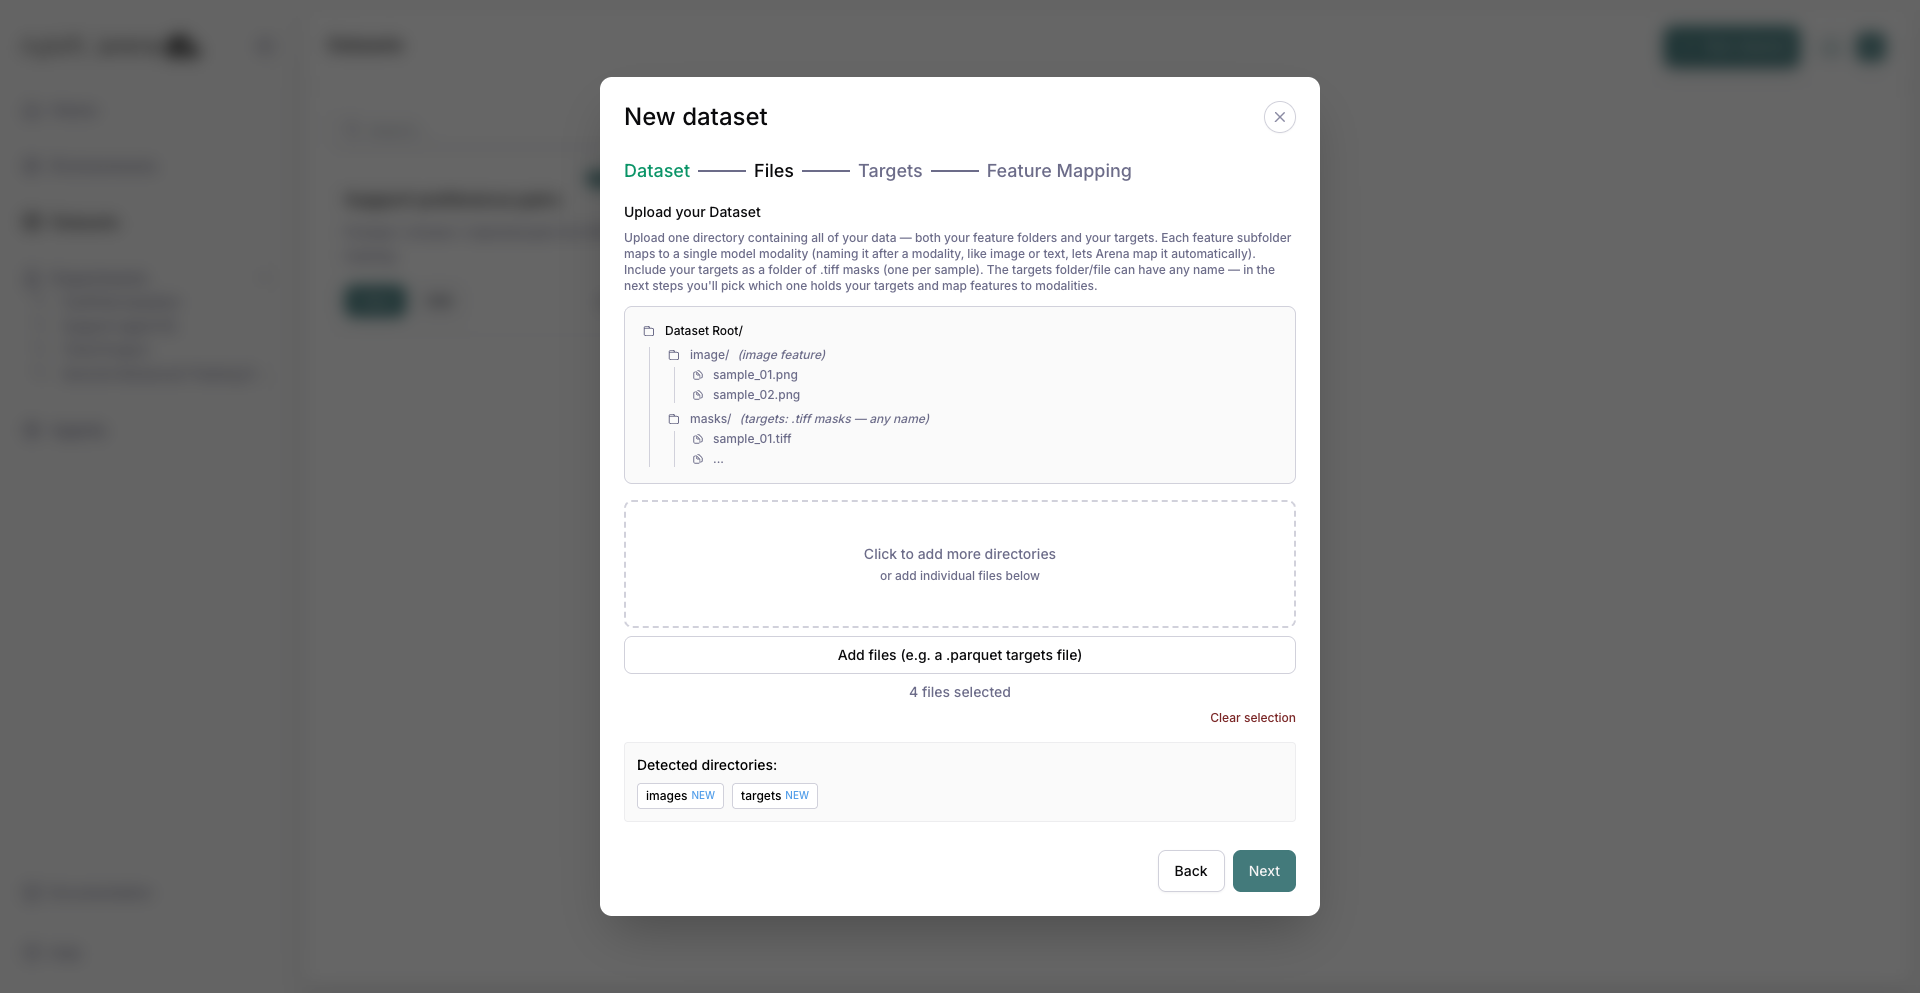
The images and targets directories detected after the directory upload.
5. Select the targets
On Targets, you don’t upload again — you pick which of the directories you just uploaded holds your targets. Arena pre-selects the most likely folder (here, targets); change it if needed.
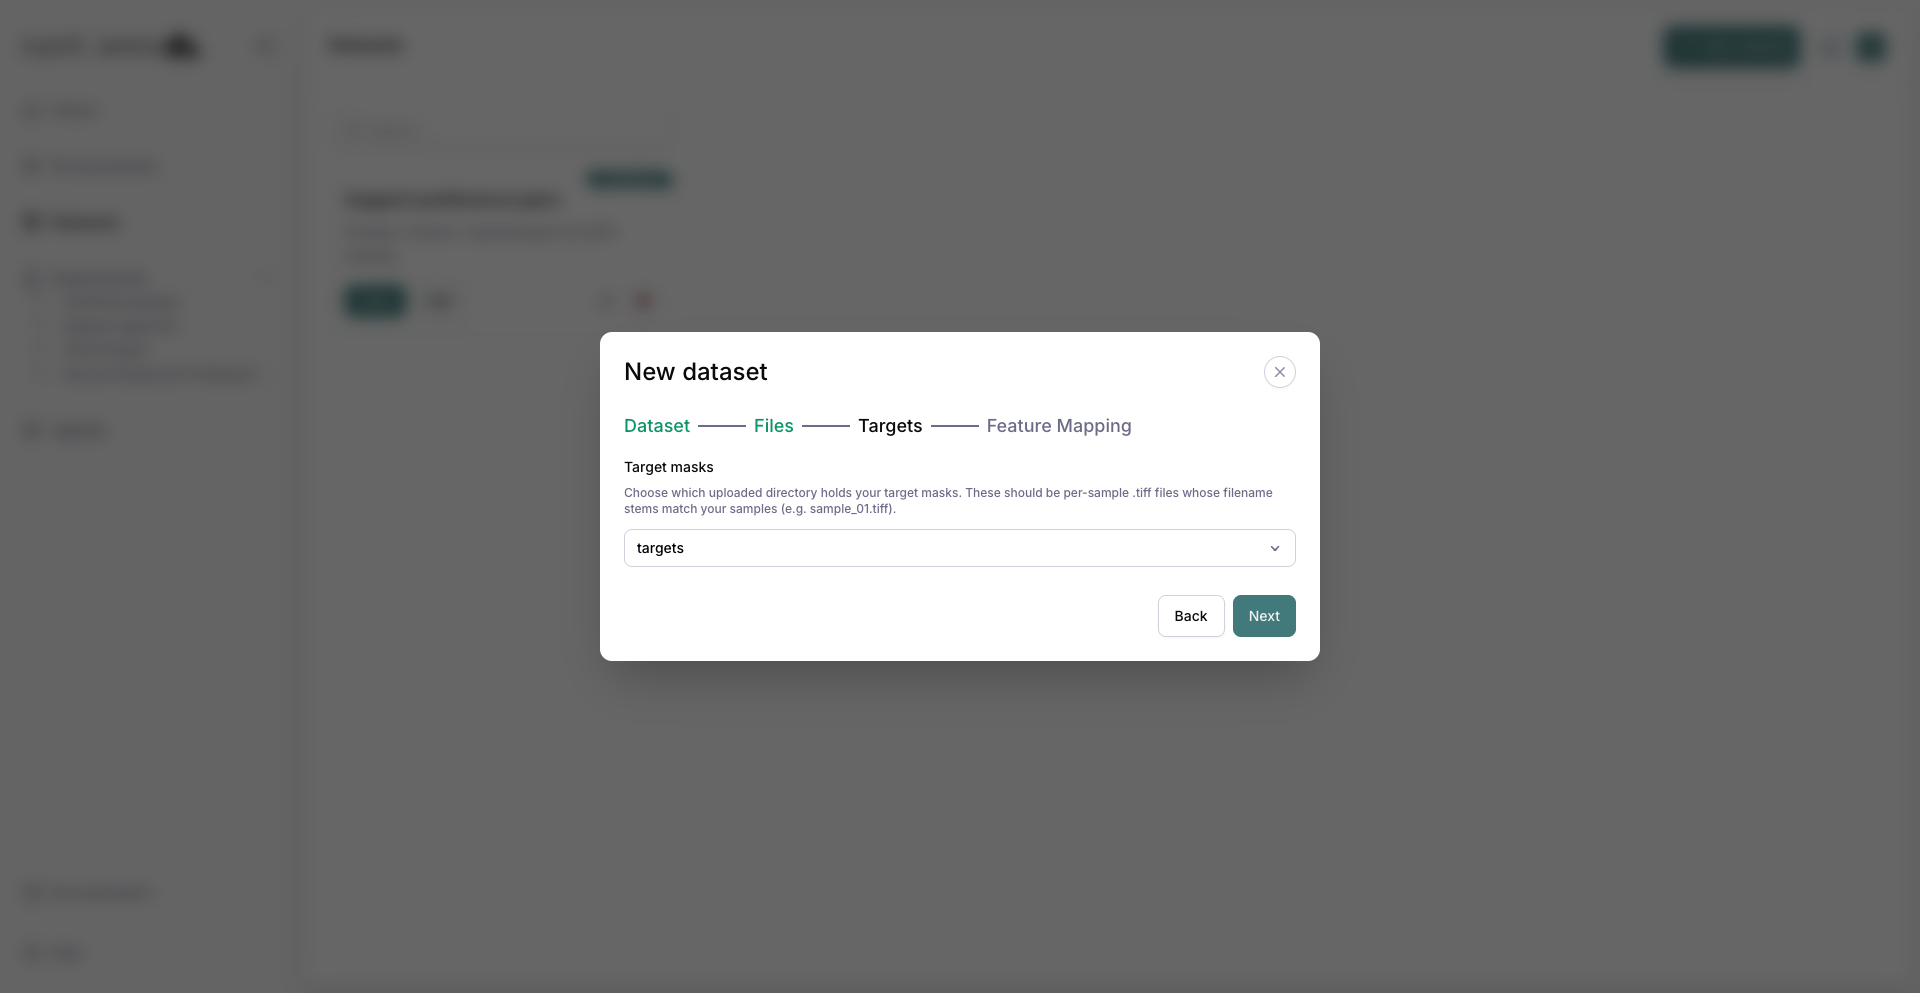
Targets step with the targets mask folder selected from your upload.
6. Map the feature and save
On Feature Mapping, pick a supported vision model (for example ResNet50) and map the images feature to the image modality. The targets folder you selected on the previous step is excluded from feature mapping automatically. Save the mapping.
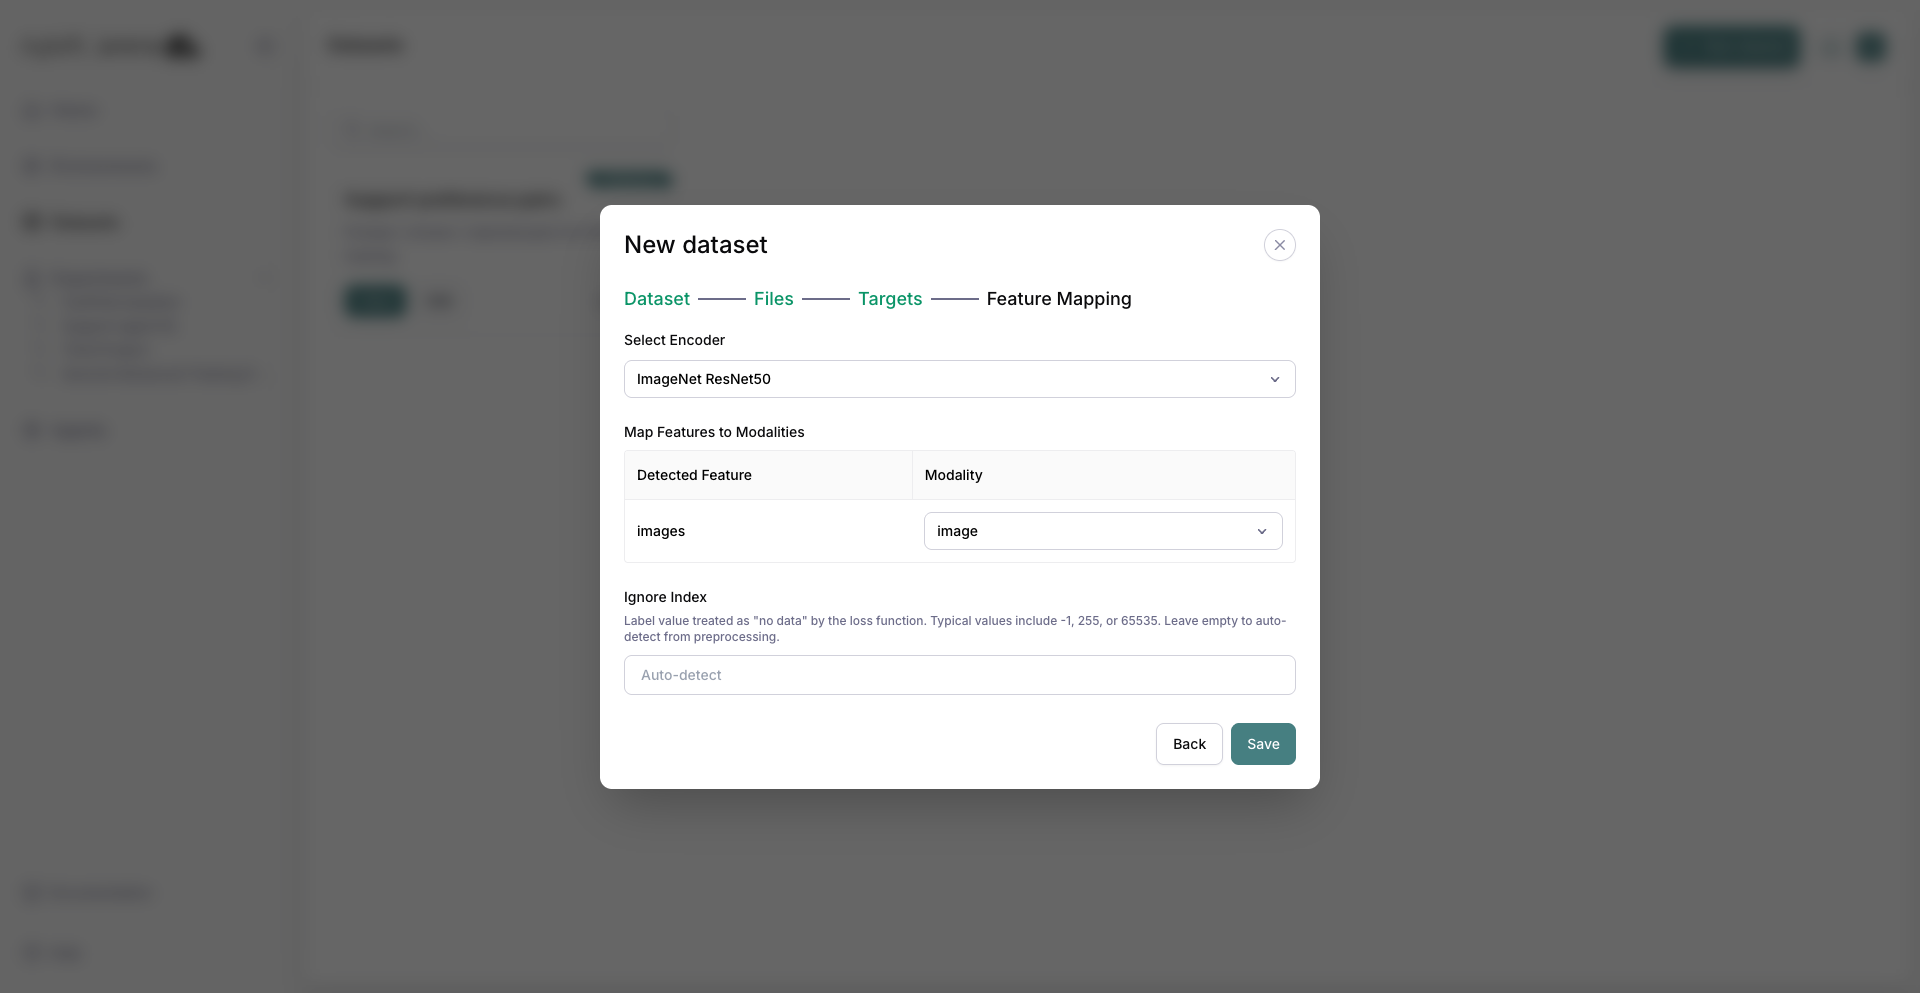
Feature Mapping with a vision model and the images feature mapped to image.
7. Saved dataset
Confirm save. The dataset appears in the list for use in Advanced Training experiments.

The dataset listed after save.
8. Preprocess the dataset
Preprocessing runs the dataset’s selected encoder over the raw files once and stores the encoded result. Every experiment then trains on ready-made tensors instead of re-encoding images and masks on each run. For object detection, preprocessing encodes the feature images and prepares the mask targets. You can run a full rebuild or an incremental run that only encodes newly added files.
Open the dataset and switch to the Preprocessing tab. The tab appears for tabular and non-tabular datasets on Enterprise plans.
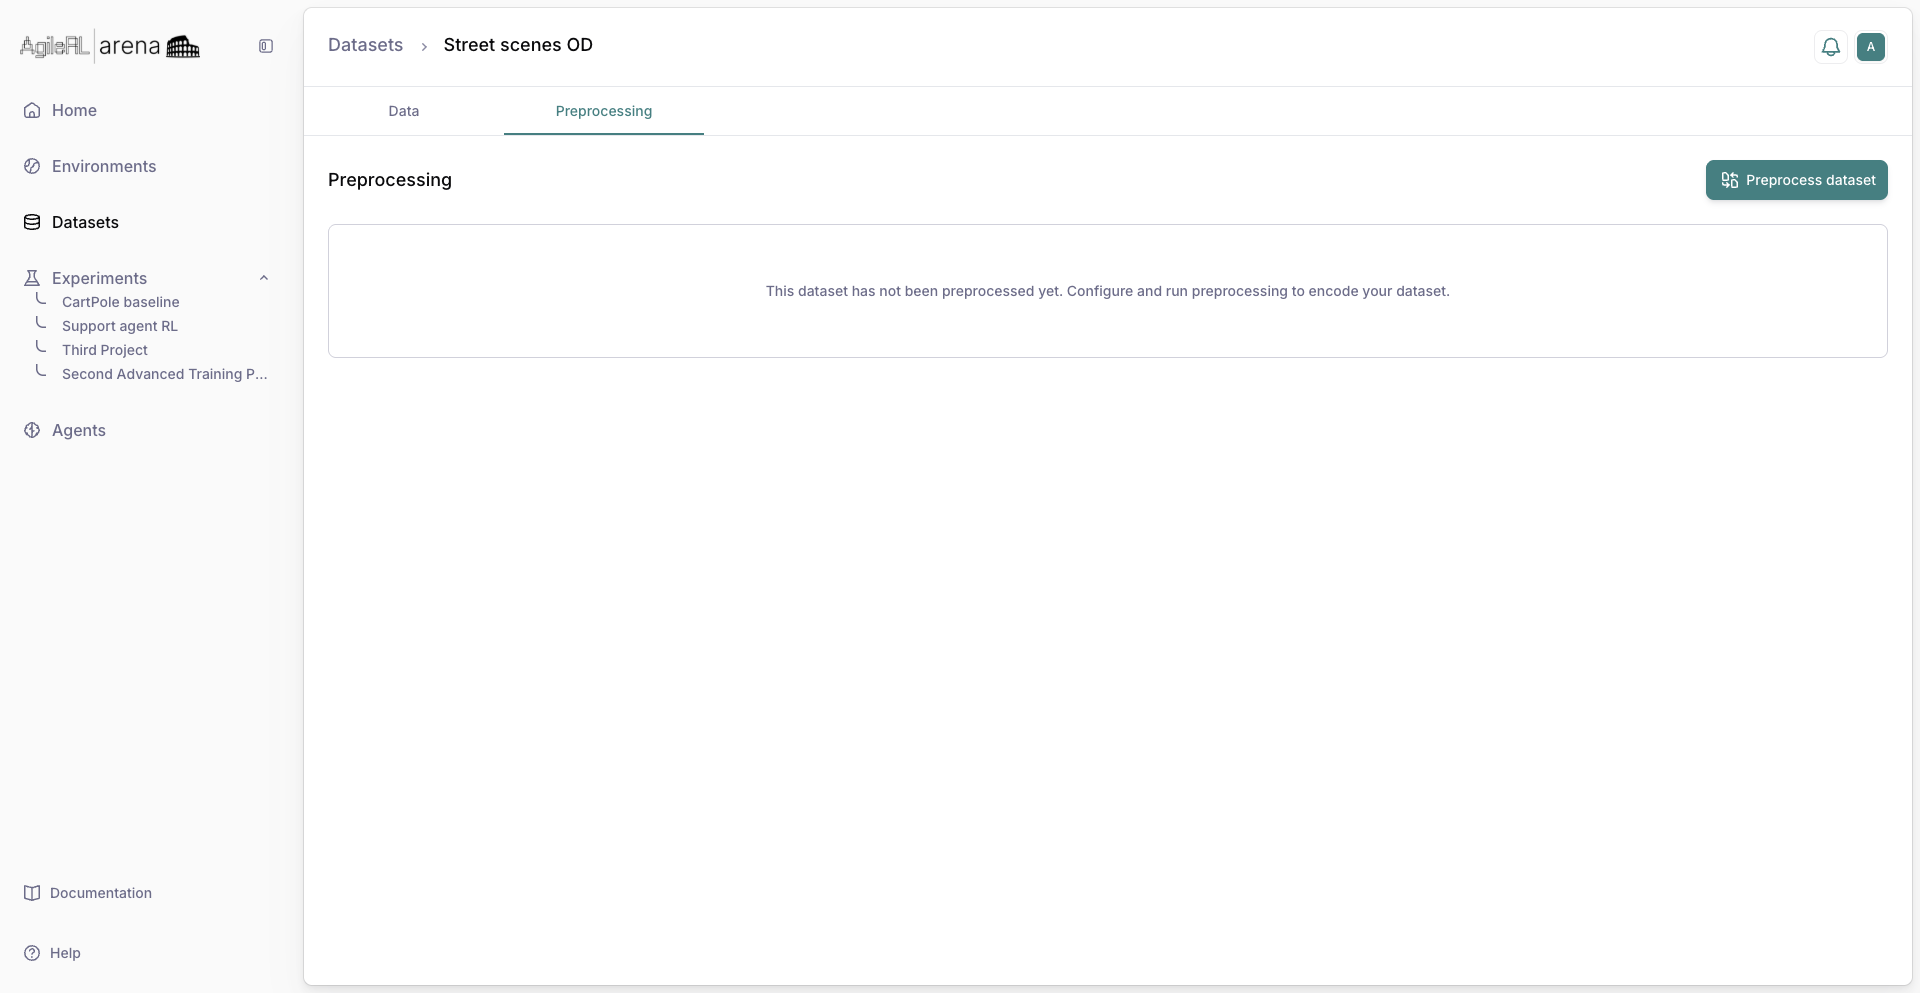
Preprocessing tab before the first run.
Click Preprocess dataset to schedule a job. Arena spins up a cluster, encodes the dataset, and reports progress on this tab; metrics appear when the job finishes. When the status shows Preprocessing completed successfully, the dataset is ready to attach in an Advanced Training experiment.
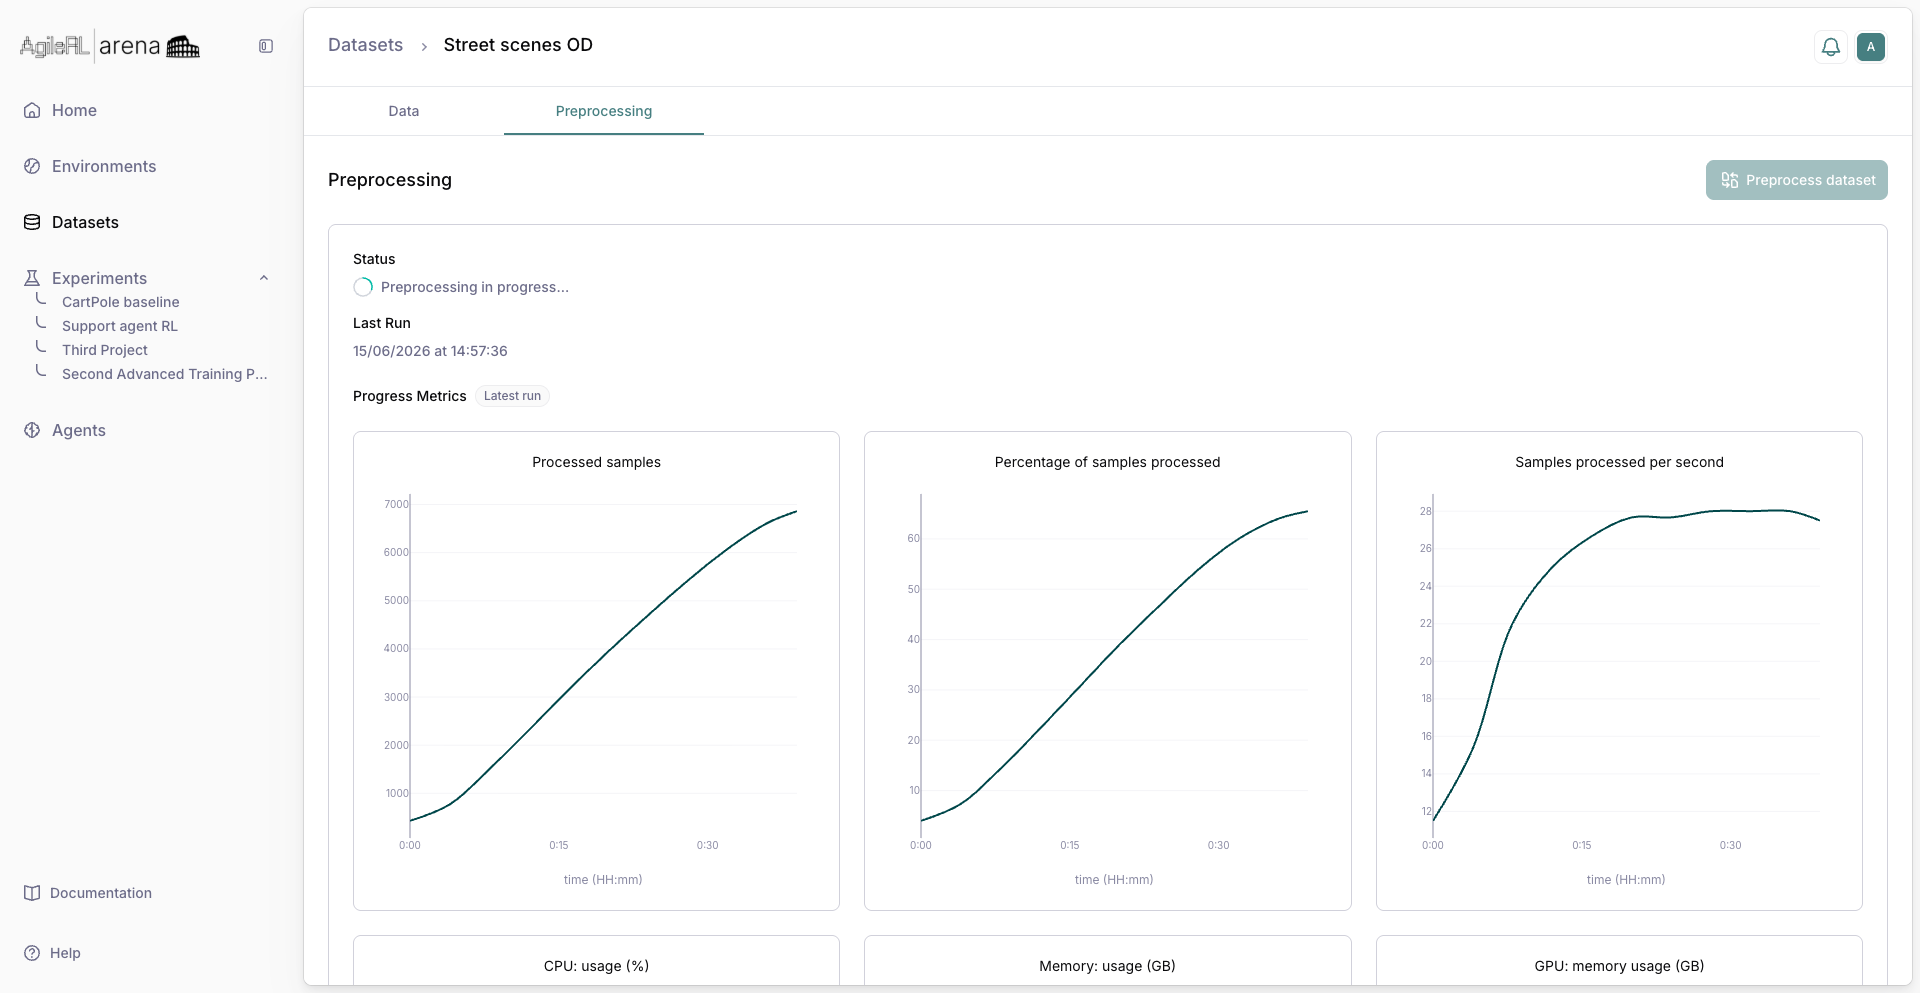
Preprocessing job in progress.